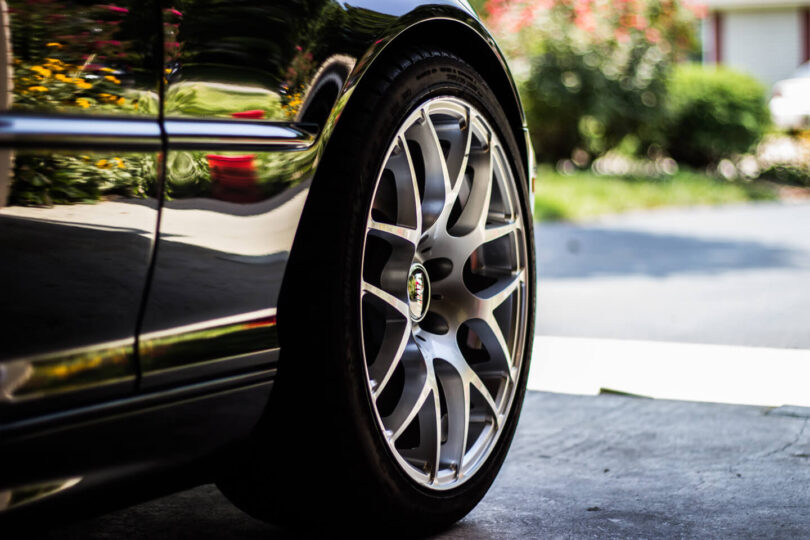
Alloy wheels, known for their aesthetic appeal and performance benefits, are a popular choice for many car owners. However, they are also prone to damage such as scratches, scuffs, and curb rash. Repairing alloy wheels can extend their lifespan, maintain the vehicle’s appearance, and save money compared to buying new wheels. Here’s a comprehensive guide on how to repair alloy wheel damage.
Assessing the Damage
Before you begin any repair, it’s crucial to assess the extent of the damage. Minor scratches and scuffs can usually be repaired at home, while severe cracks or structural damage may require professional intervention or wheel replacement. Common types of damage include:
- Scratches and Scuffs: Typically surface damage caused by contact with curbs or road debris.
- Curb Rash: More extensive surface damage along the rim of the wheel.
- Cracks: Serious structural damage that can compromise the wheel’s integrity.
Tools and Materials Needed
To repair alloy wheel damage, you will need the following tools and materials:
- Sandpaper (various grits from 240 to 2000)
- Alloy wheel filler or putty
- Primer
- Wheel paint (matching the original color)
- Clear coat
- Masking tape
- Clean cloths
- Wheel cleaner
- Safety gear (gloves, mask, and safety glasses)
Step-by-Step Repair Process
- Clean the Wheel:
- Start by thoroughly cleaning the damaged wheel with a wheel cleaner and a clean cloth. Remove all dirt, grease, and debris to ensure a smooth repair surface.
- Sand the Damaged Area:
- Use 240-grit sandpaper to sand down the damaged area. This helps to remove surface scratches and scuffs. For deeper scratches, you may need to use a coarser grit initially and then move to finer grits to smooth the surface. Sand until the area is smooth and level with the rest of the wheel.
- Apply Alloy Wheel Filler:
- If there are any deeper scratches or gouges, apply an alloy wheel filler or putty to the damaged area. Follow the manufacturer’s instructions for mixing and applying the filler. Use a putty knife to spread the filler evenly, and let it cure as directed.
- Sand the Filled Area:
- Once the filler is fully cured, use progressively finer grits of sandpaper (starting from 400 to 2000) to sand the filled area until it is smooth and blends seamlessly with the rest of the wheel.
- Mask Off the Wheel:
- Use masking tape and paper to cover the tire and any parts of the wheel that you don’t want to paint. Ensure that only the damaged area is exposed.
- Apply Primer:
- Spray a thin, even coat of primer over the repaired area. Allow it to dry completely as per the manufacturer’s instructions. Sand the primed area lightly with 2000-grit sandpaper to achieve a smooth surface.
- Paint the Wheel:
- Choose a wheel paint that matches the original color of your alloy wheel. Apply several light coats, allowing each coat to dry before applying the next. This will help to prevent runs and ensure an even finish.
- Apply Clear Coat:
- After the paint has dried, apply a clear coat to protect the finish and give it a glossy appearance. Apply multiple thin coats, allowing each to dry thoroughly.
- Final Touches:
- Once the clear coat is fully dry, remove the masking tape and paper. Inspect the repair to ensure a smooth and professional finish. If necessary, you can polish the entire wheel to blend the repaired area with the rest of the wheel.
Conclusion
Repairing alloy wheel damage can be a satisfying DIY project that restores the look of your wheels and extends their life. By following these steps, you can achieve professional-looking results and maintain the value and appearance of your vehicle. However, always assess the severity of the damage, and if in doubt, consult a professional to ensure your safety on the road.


